 Royal Enfield Interceptor 650 - Service manual > Footrest Bracket LH and RH - Pillion
Chassis / Footrests/Stands/Saree Guard / Footrest Bracket LH and RH - Pillion
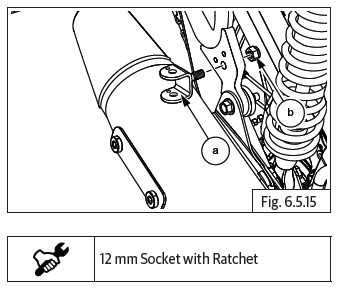
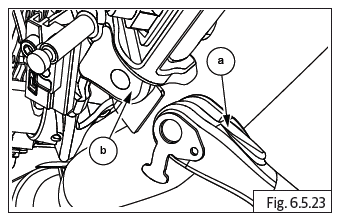
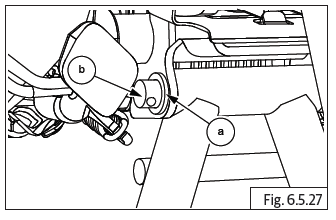
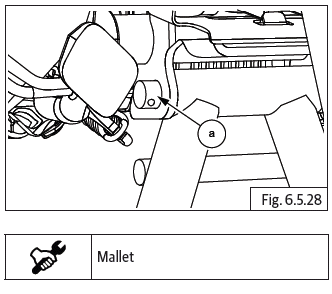
- Support pillion footrest bracket (a), loosen and remove Hex nyloc nut (M8) (b) from inner side of frame.
Saree Guard (For Indian Market Only)
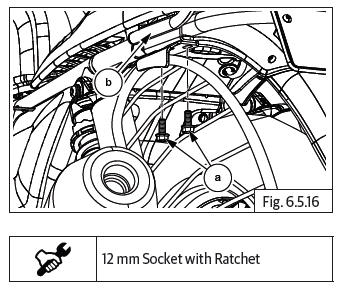
- Loosen and remove 2 Nos. Hex flange head bolts (M8) (a) from frame and grab handle (b).
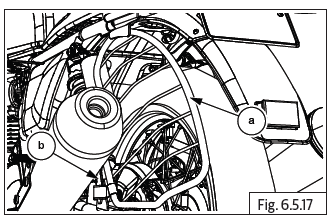
- Gently separate the saree guard (a) from bottom bracket (b).
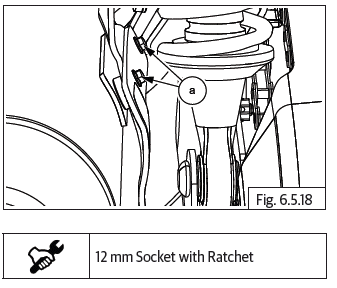
- Loosen and remove 2 Nos. flange Hex bolts (M8) (a) from bottom bracket and silencer pipe on LH.
Side Stand
CAUTION Ensure the motorcycle is upright on a firm and flat surface.
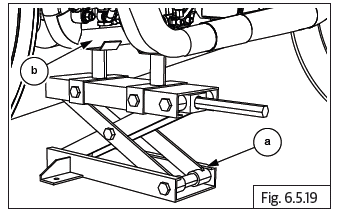
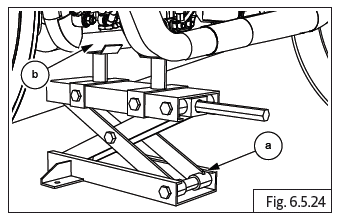
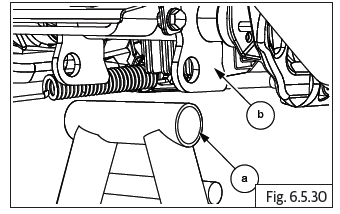
- Locate a scissor jack (a) under cradle frame (b) and lift motorcycle such that the wheel is off the ground.
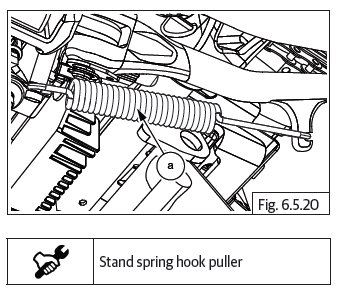
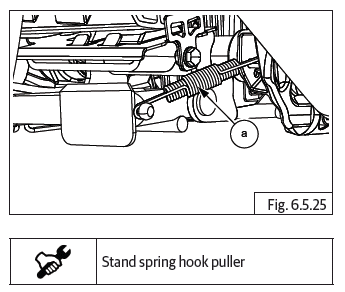
Remove spring (a) from side stand.
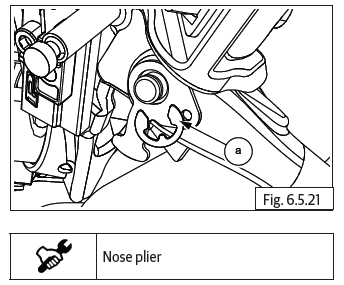
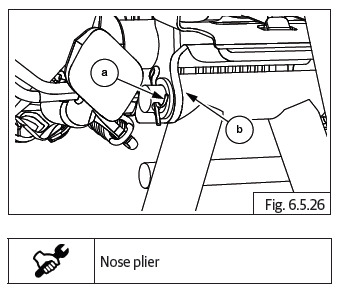
- Remove E-clip (a) from clevis.
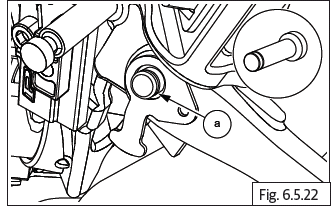
- Remove clevis pin (a) from side stand.
- Remove side stand (a) from frame (b).
Center Stand
CAUTION Ensure the motorcycle is upright on a firm and flat surface.
- Locate a scissor jack (a) under cradle frame (b) and lift motorcycle such that the wheel is off the ground.
- Remove spring (a) from center stand.
- Straighten and remove split pin (a) from clevis pin located on center stand (b).
- Remove washer (a) from clevis pin (b).
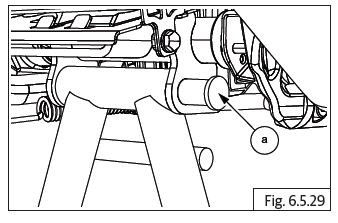
- Gently tap from LH to remove clevis pin (a) from center stand.
- Remove clevis pin (a) from RH side to separate center stand from frame.
- Remove center stand (a) from frame (b).
Inspection
- Inspect footrests for any wear out, cracks, damages at the mounting area.
- Inspect clevis pin for any wear-out.
- Inspect springs for loss of tension and breakage.
- Inspect ball (only for pillion footrest) for uneven wear.
- Inspect rider footrest housing on frame for any cracks and damages.
- Inspect pillion footrest brackets for any cracks and damages.
- Inspect the center stand for rust formation, any bend or damage.
- Inspect saree guard for rust, cracks bends or damages.
- Inspect rubber bush for any cracks, cut or tear and wear.
Assembly
See also:
 Royal Enfield Interceptor 650 - Service manual > Center Stand
CAUTION Ensure the motorcycle is upright on a firm and flat surface. Ensure motorcycle is supported appropriately. Locate and support center stand in frame. Insert clevis pin (a) from RH side to assemble center stand to frame. Install washer (a) into clevis pin (b). Install split pin (a) into clevis pin and split the outer end to install center stand (b). Install spring (a) into center stand.
 Rider's Manual BMW R 1250 GS GSA
 Owner's Manual Harley-Davidson Sportster XL1200X Forty-Eight
 Owner's Manual Honda CBR650R
 Service manual Honda CBR650
 Owner's Manual Honda PCX125
 Owner's Manual Kawasaki Z1000SX
 Service manual Kawasaki Z1000SX
 Owner's Manual Lexmoto Echo
 Owner's Manual Royal Enfield Interceptor 650
 Service manual Royal Enfield Interceptor 650
 Owner's Manual Yamaha MT-07